
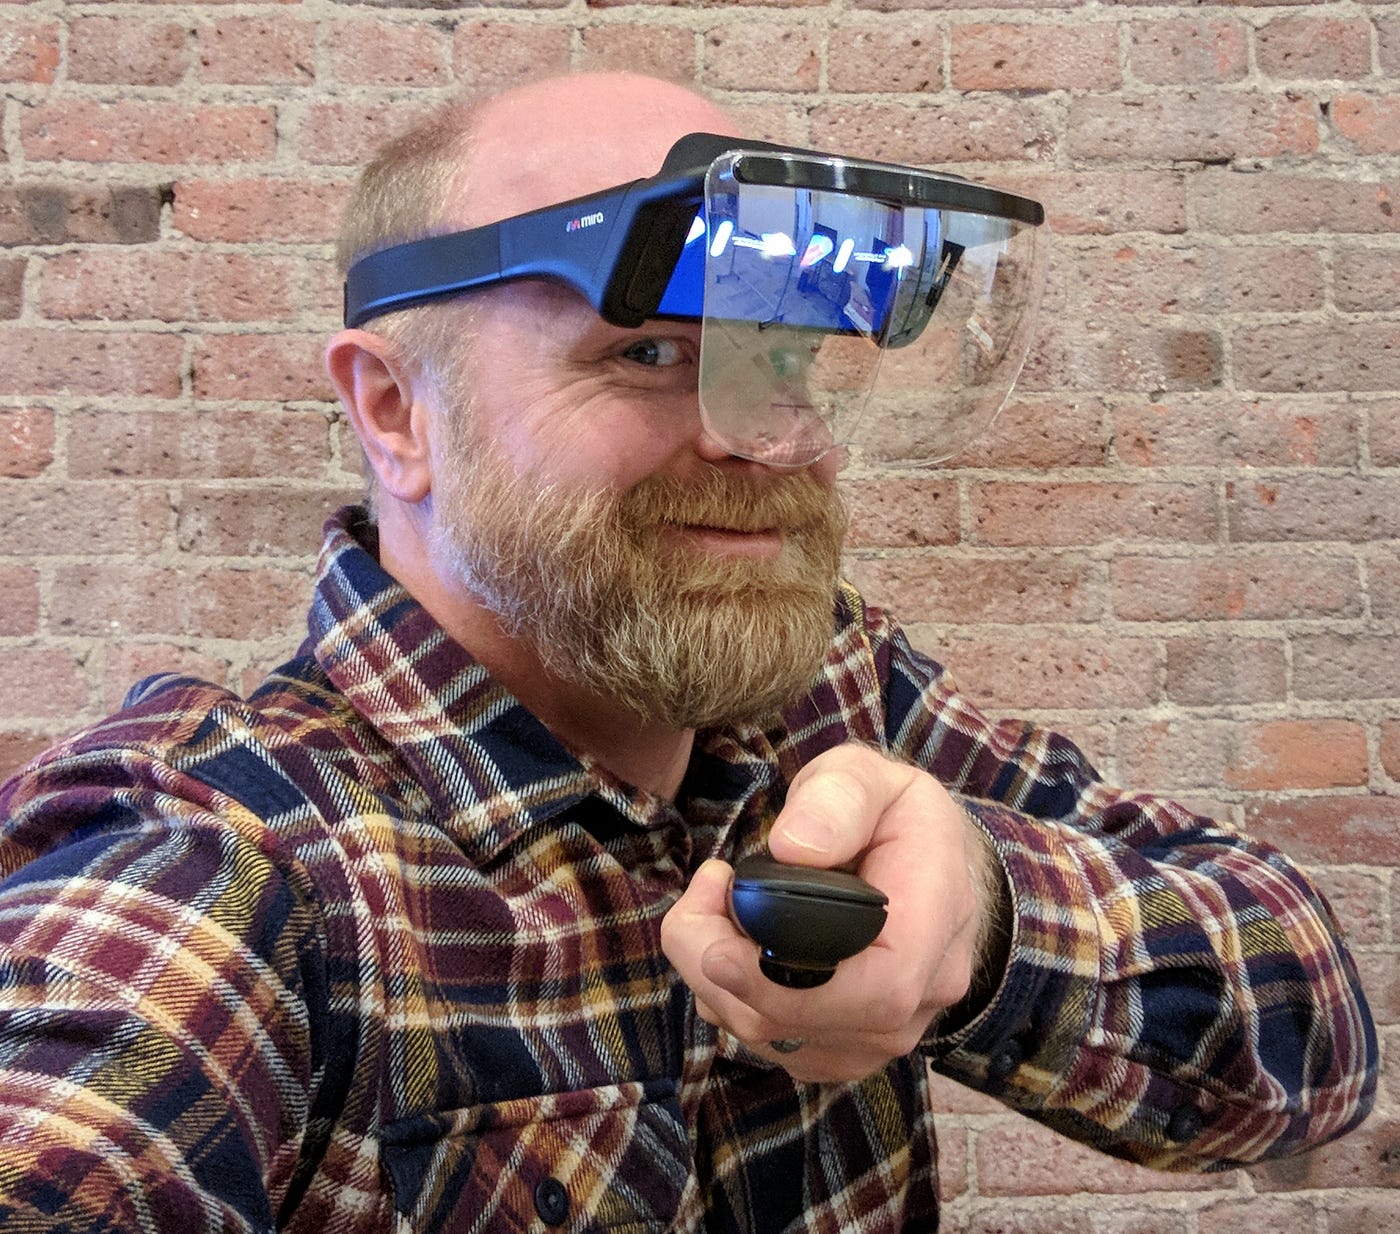
Have you ever wanted to create your very own AR headset? Imagine stepping into a world where digital images blend seamlessly with the real environment around you.
Building an AR headset might sound complicated, but with the right steps, you can make one yourself. You’ll discover simple, clear instructions that break down the process so you don’t feel overwhelmed. By the end, you’ll have the knowledge to bring augmented reality straight to your fingertips.
Ready to see how it’s done? Let’s dive in!

Credit: uxdesign.cc
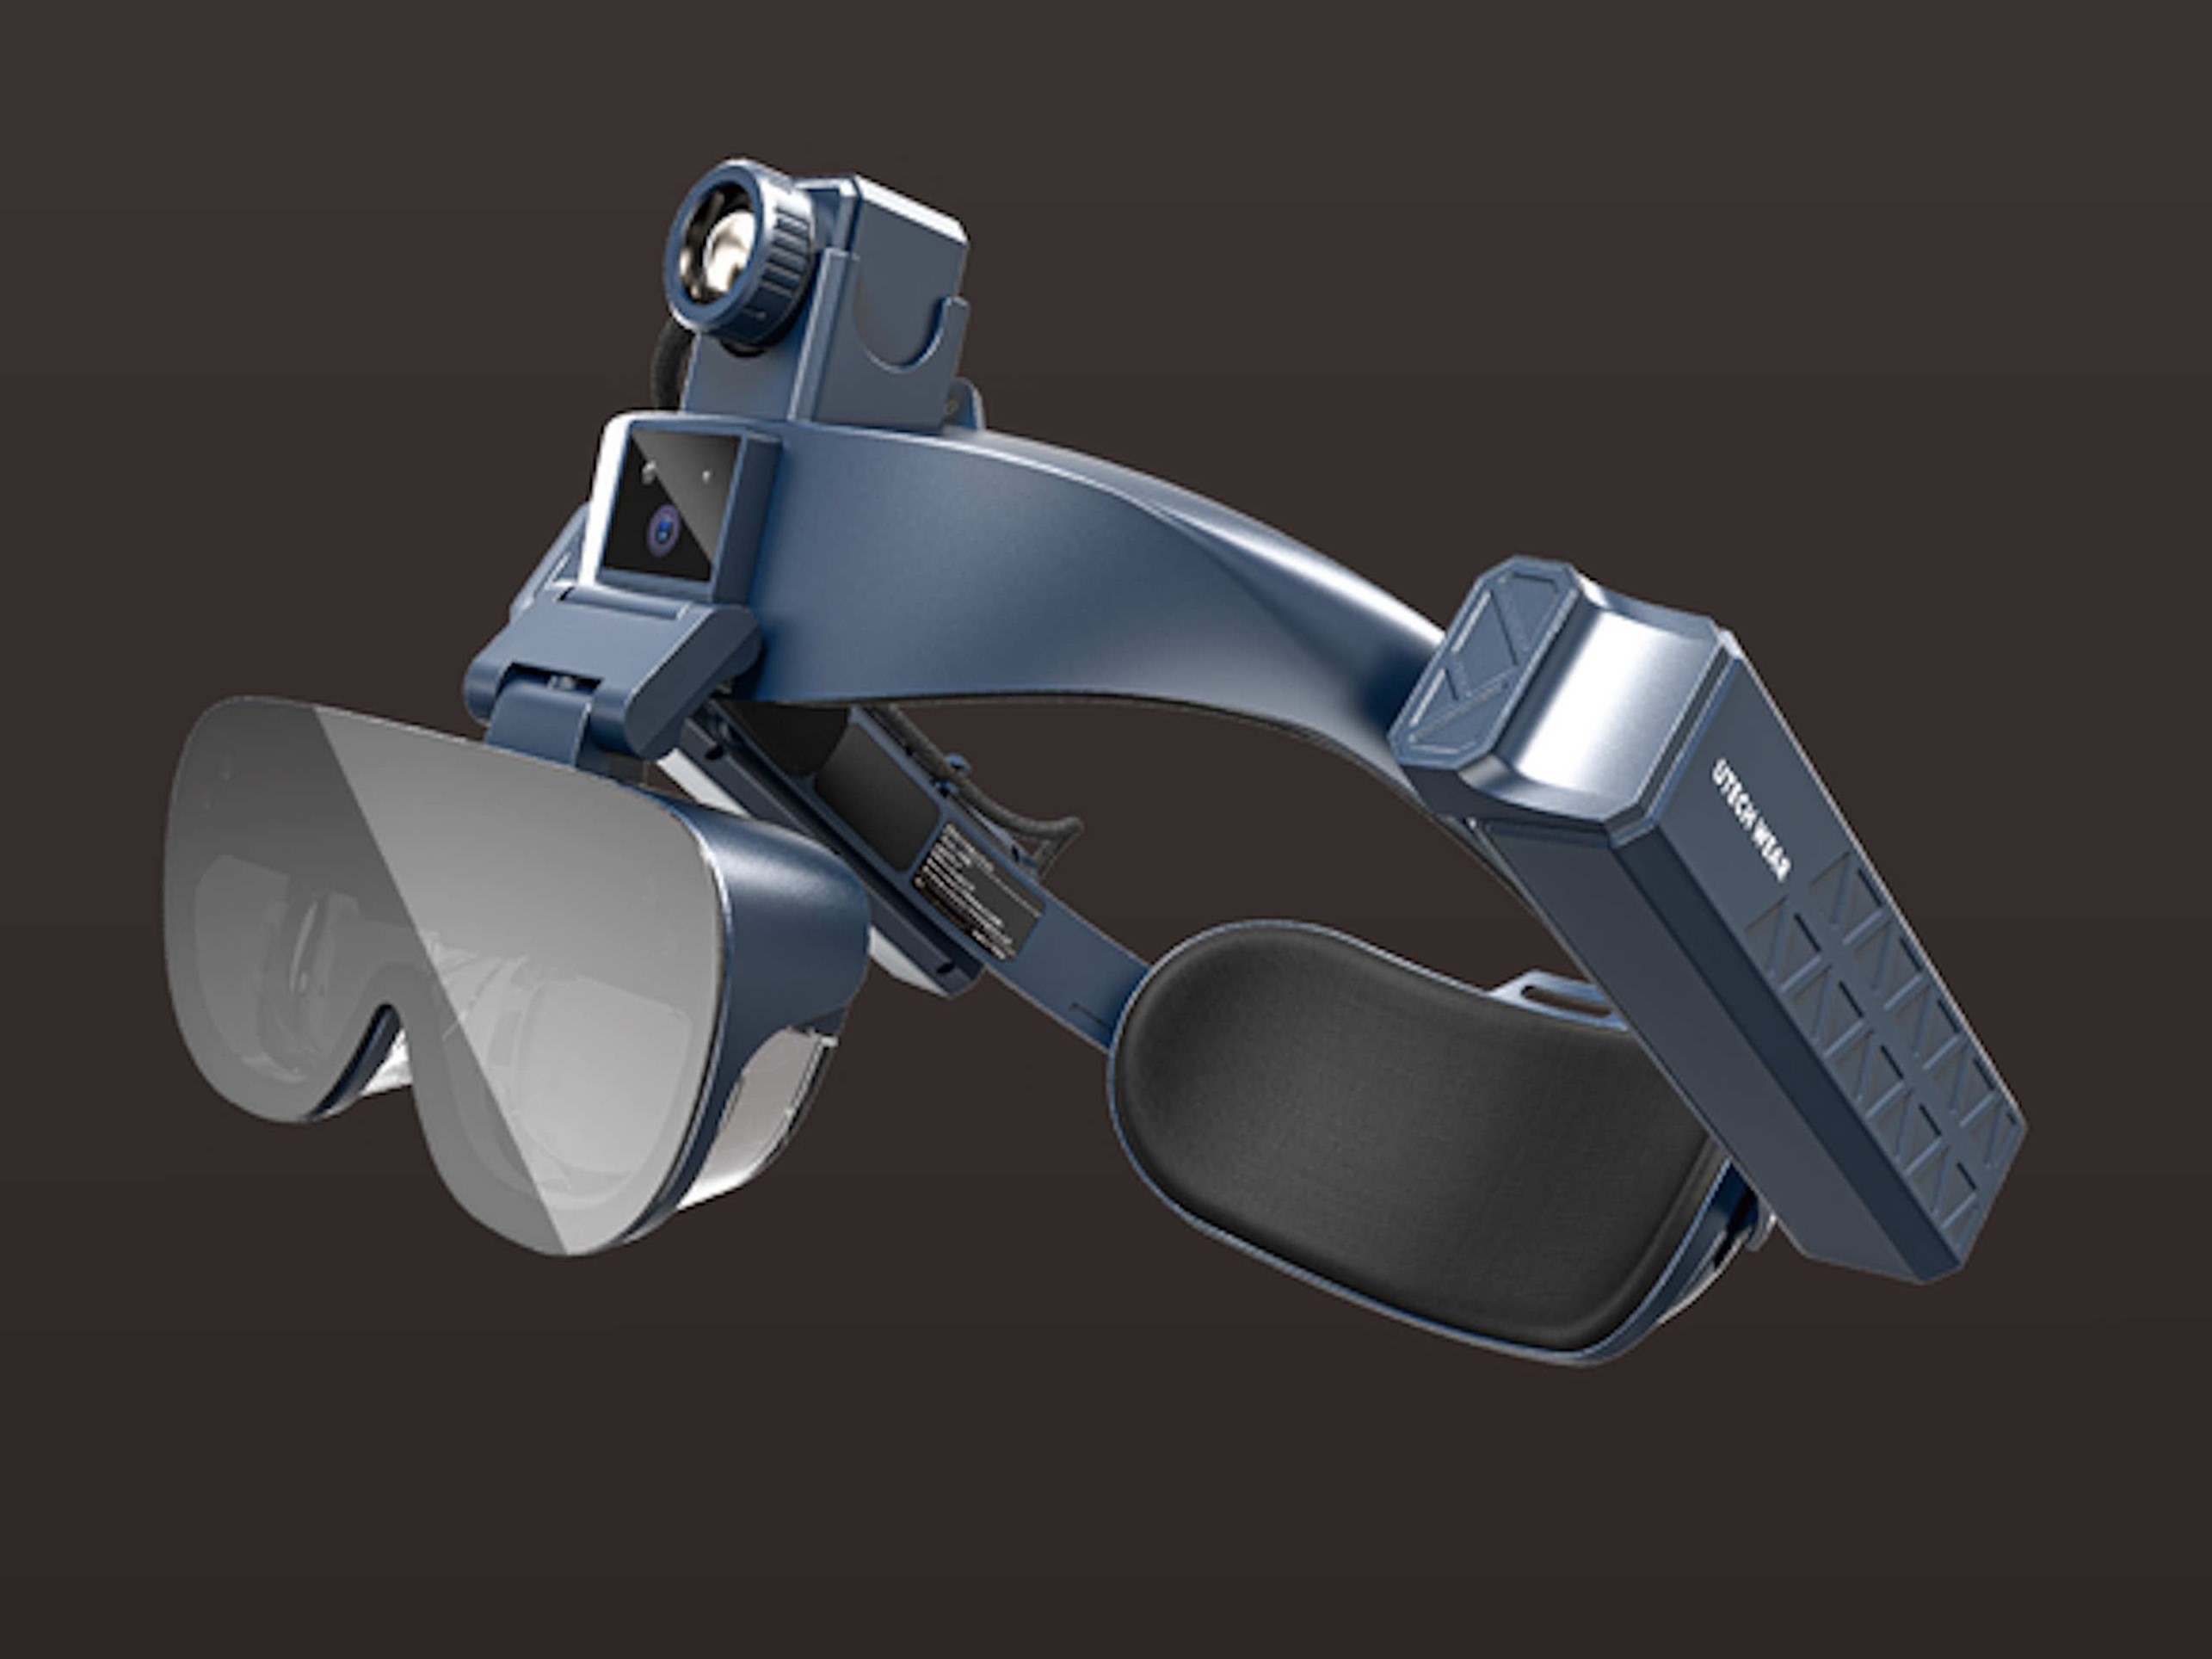
Materials Needed
Building an AR headset needs specific materials. These materials help ensure the headset works well and fits comfortably. Choosing the right parts makes your project easier and more successful.
Below is a list of key materials needed to create an AR headset. This list covers both the main components and the tools you will use during assembly.
Essential Components
- Microdisplay or small LCD screen for visuals
- Waveguide or lens to project images
- Processor or microcontroller for computing power
- Battery for power supply
- Sensors such as cameras and motion trackers
- Frame or housing to hold all parts
- Speaker or headphones for audio output
- Connectivity modules like Bluetooth or Wi-Fi
- Cables and connectors to link components
Tools Required
- Soldering iron for joining wires and parts
- Screwdrivers to assemble the frame
- Wire cutters and strippers
- Multimeter for testing electrical circuits
- Hot glue gun or adhesive for fixing parts
- Small pliers for bending and holding wires
- Precision tweezers for handling tiny components
- 3D printer or crafting tools for custom parts
Choosing The Right Display
Choosing the right display is key to building an effective AR headset. The display affects how clear and bright the images appear. It also impacts battery life and comfort. Picking the right display type helps create a better user experience. This section covers common display types and tips for selecting the best one for your project.
Types Of Displays
- OLED (Organic Light Emitting Diode):Offers vibrant colors and deep blacks. It is thin and flexible, great for lightweight designs.
- LCD (Liquid Crystal Display):Common and affordable. It uses backlighting, which can reduce contrast compared to OLED.
- MicroLED:Newer technology with high brightness and energy efficiency. It delivers sharp images but is costly.
- LCoS (Liquid Crystal on Silicon):Combines LCD and reflective technology. It offers high resolution and good color accuracy.
- DLP (Digital Light Processing):Uses tiny mirrors to project images. Known for sharp visuals but can be bulkier.
Display Selection Tips
- Choose a display with high resolution for clear images.
- Pick a display type that balances brightness and power use.
- Consider the size and weight to keep the headset comfortable.
- Check the refresh rate to ensure smooth visuals and reduce lag.
- Test the display in different lighting conditions to see how it performs.
- Factor in the cost and availability of the display parts.
Selecting Sensors And Cameras
Selecting the right sensors and cameras is crucial for building an effective AR headset. These components determine how well your device understands the environment and tracks user movements. Choosing wisely can make your headset more responsive and immersive.
Motion Tracking Sensors
Motion tracking sensors help your headset detect head and body movements. Common options include gyroscopes, accelerometers, and magnetometers. Combining these sensors gives you accurate orientation and position data.
Consider sensors with low latency to reduce lag between movement and display updates. For example, In my experience, using a 9-axis IMU sensor boosted the responsiveness of my prototype significantly.
Ask yourself: How precise do you need the tracking to be? Higher precision sensors cost more but improve user experience, especially in fast-paced applications.
Camera Options
Cameras capture the environment and enable features like spatial mapping and gesture recognition. You can choose between RGB cameras, depth cameras, or a combination of both.
RGB cameras provide color information, which is useful for overlaying digital objects realistically. Depth cameras, like Time-of-Flight sensors, measure distance and help create 3D maps of surroundings.
Think about lighting conditions where your headset will be used. Depth cameras handle low light better, while RGB cameras may struggle without enough illumination. Combining both types can balance these limitations.
Designing The Frame
Designing the frame of your AR headset is crucial for both performance and user experience. The frame holds all the components together and directly affects how comfortable the headset feels during extended use. Paying attention to both comfort and material choices can make your design stand out and ensure users want to wear it longer.
Comfort And Fit
Comfort is key because an uncomfortable headset distracts from the AR experience. Focus on creating a frame that balances snugness with breathability. Adjustable straps or flexible bands can help the headset fit different head sizes securely without causing pressure points.
Think about padding areas that press against the skin, like the forehead and behind the ears. Using soft foam or silicone cushions in these spots can reduce discomfort. Also, consider weight distribution. A well-balanced frame prevents the headset from feeling front-heavy, which can strain the neck over time.
Have you ever worn a headset that felt too tight or slipped off easily? That’s a sign the frame design needs tweaking. Try prototypes on multiple people and collect feedback to improve the fit before finalizing your design.
Material Choices
The materials you pick affect durability, weight, and cost. Lightweight plastics such as ABS or polycarbonate are popular because they keep the headset light without sacrificing strength. Using these materials can make your headset easier to wear for long sessions.
Metal parts add sturdiness but increase weight. Consider aluminum for parts that need extra support but keep it minimal to avoid discomfort. Another option is 3D printing flexible thermoplastics, which allow you to customize the shape and add comfort features directly into the frame.
Don’t forget ventilation. Some materials trap heat, making the headset hot and uncomfortable. Incorporate mesh panels or perforations in the frame to improve airflow. Would you rather wear a heavy, solid frame or a lightweight, breathable one? The choice of materials directly answers this question.
Assembling The Electronics
Assembling the electronics for your AR headset is where your project truly comes to life. This phase demands patience and precision, as the tiny connections and components must work perfectly together. Your success depends on understanding how each part communicates and powers the system.
Wiring Basics
Start by organizing your wires before connecting anything. Use color-coded wires to keep track of power, ground, and signal lines easily. This simple step saves you from hours of troubleshooting later.
Make sure to strip the wire ends neatly and avoid frayed strands that can cause shorts. If you have a multimeter, test continuity to confirm your wires are intact. Don’t forget to secure loose wires with zip ties or heat shrink tubing to prevent accidental disconnections.
Connecting Components
Begin by identifying the input and output pins on each component—sensors, displays, microcontrollers, and power sources. Connect the power lines first to avoid damaging sensitive parts by mistake.
Use a breadboard or a solderless connector for your initial connections to test everything. This allows easy adjustments if something doesn’t work as expected. Once confident, solder the connections for durability and better conductivity.
Think about how you will route cables inside the headset to avoid tangling or pinching. Does your design allow easy access for repairs or upgrades? Planning this early saves time and frustration.
Programming The Ar Software
Programming the AR software is where your headset truly comes to life. This stage involves writing code that processes real-world data and displays augmented visuals seamlessly. You’ll need to understand both the basics of coding and how to connect your hardware sensors to the software for a smooth experience.
Basic Coding Tools
Start with choosing a programming language that suits AR development. Languages like C, Python, and JavaScript are popular because they work well with AR frameworks such as Unity and ARKit.
Use an Integrated Development Environment (IDE) like Visual Studio or Unity Editor to write and test your code efficiently. These tools provide debugging features that save you time and help spot errors early.
Don’t forget about libraries and SDKs designed for AR. They offer pre-built functions to handle complex tasks like image recognition and 3D rendering, which speeds up your development process.
Integrating Sensors
Your AR headset relies heavily on sensors to track movement and environment. Programming these sensors correctly ensures the virtual elements align perfectly with the real world.
Start by accessing sensor data such as gyroscope, accelerometer, and depth sensors using APIs provided by your hardware. This data helps calculate the user’s position and orientation in real-time.
Test how sensor inputs affect your AR display. For example, slight delays in sensor updates can cause lag, breaking immersion. Adjust your code to optimize sensor responsiveness and accuracy.
Testing And Calibration
Testing and calibration are critical phases in building your AR headset. They ensure the device responds correctly to your movements and environmental inputs, delivering a seamless augmented reality experience.
Initial Testing
Start by powering up your AR headset and running basic functionality checks. Confirm that all sensors, like cameras and motion trackers, are active and communicating with your processor.
Try simple gestures or head movements to see if the display reacts as expected. If the visuals lag or misalign, note these issues for adjustments.
- Check sensor connections and power supply.
- Test display responsiveness with different angles.
- Observe any delays or glitches in tracking.
Have you noticed any dead zones or blind spots during initial testing? Identifying these early saves time later.
Adjusting For Accuracy
Calibration is about fine-tuning your headset to match your exact movements and the environment. Use calibration software or manual methods to align sensors and improve tracking precision.
Focus on these adjustments:
- Align cameras so the 3D visuals appear correctly positioned.
- Calibrate gyroscopes and accelerometers to reduce drift.
- Adjust brightness and contrast for clear visuals in varied lighting.
Test changes iteratively—make a small adjustment, then test again. This approach helped me eliminate a persistent lag issue by tweaking sensor sensitivity bit by bit.
What’s your biggest challenge in getting the headset’s tracking just right? Sometimes, patience and small changes lead to the best results.
Credit: medium.com
Troubleshooting Common Issues
Troubleshooting your AR headset can feel frustrating, especially when things don’t work as expected. However, many common issues have straightforward fixes that you can try yourself. Let’s look at how to identify and solve problems related to the display and sensors, so you can get back to your immersive experience faster.
Display Problems
One of the most noticeable issues is a dim or flickering display. Check if the headset’s lenses are clean and free of smudges; even small dirt particles can affect clarity.
If the screen remains dark, ensure the headset is fully charged or properly connected to power. Sometimes, adjusting the brightness settings through the software can also help.
Have you noticed any color distortions or blurry images? This might indicate a loose cable inside the headset or a software glitch. Try restarting the device or updating the firmware to fix these problems.
- Clean lenses gently with a microfiber cloth.
- Verify power connections and battery status.
- Adjust brightness and display settings.
- Restart or update headset software.
- Inspect for loose cables if problems persist.
Sensor Malfunctions
Sensors are crucial for tracking your movements and environment. If your headset feels unresponsive or loses tracking, start by cleaning the sensor areas to remove dust or fingerprints.
Check the lighting in your room. Too much direct light or very dark surroundings can confuse the sensors, causing glitches.
Calibration errors may also cause sensor problems. Many AR headsets include calibration tools in their settings—running these can realign sensors quickly.
- Wipe sensors carefully with a soft cloth.
- Adjust room lighting to reduce glare or shadows.
- Run the headset’s sensor calibration process.
- Ensure no reflective surfaces interfere with sensors.
- Test sensor response after each fix step.
Have you ever had a moment when your AR headset just wouldn’t track your movements right? I once struggled with a sensor issue that turned out to be caused by a simple window glare. Fixing that instantly improved performance. What small change might solve your headset’s sensor troubles?
Tips For Enhancing Your Ar Headset
Enhancing your AR headset boosts both comfort and performance. Small changes make a big difference. Focus on two main areas: comfort and features. Improving these areas helps you enjoy longer sessions and better experiences.
Improving Comfort
Wear your AR headset for long periods. Comfort is key to avoid strain and fatigue. Adjust the straps to fit snugly but not too tight. Use soft padding around the face and head. Replace hard plastic parts with cushioned materials if possible.
Balance the headset weight evenly. This prevents pressure on one spot. Try lightweight components to reduce overall weight. Keep the headset clean to avoid skin irritation. Regular breaks help relieve any discomfort.
Upgrading Features
Enhance your AR headset’s capabilities with simple upgrades. Add better lenses for clearer images. Use high-resolution displays to improve visuals. Upgrade sensors for more accurate tracking.
Install a faster processor to reduce lag. Improve audio quality with better speakers or headphones. Add external cameras for a wider field of view. Use software updates to access new functions. Customize settings to fit your needs.
Credit: www.notebookcheck.net
Frequently Asked Questions
What Materials Are Needed For An Ar Headset?
To make an AR headset, you need lenses, display screens, sensors, and a frame. Other essentials include a processor, connectivity components, and power supply. Additionally, software for AR applications and a user interface are crucial.
How Do Ar Headsets Work?
AR headsets overlay digital information onto the real world. They use sensors and cameras to detect the environment. The processor then projects digital images or information onto the lenses, merging them with the real world.
Can I Build An Ar Headset At Home?
Yes, you can build a basic AR headset at home. You’ll need some technical knowledge and the right components. Kits and tutorials are available online to guide you through the process.
What Software Is Used For Ar Headsets?
AR headsets often use specialized software like Unity and Unreal Engine. These platforms help create and manage AR applications. Additionally, custom software development might be necessary for specific functionalities.
Conclusion
Building your own AR headset takes patience and basic tools. Start with clear steps and simple parts. Test each part as you go along. This helps avoid mistakes and saves time. Keep learning about new tech and designs. Your headset can improve with practice and upgrades.
Enjoy the process of creating and exploring. Soon, you will have a device made by your own hands. This project opens doors to many tech ideas. Keep experimenting and stay curious.